Disclosure: This post may contain affiliate links. I may earn a small commission for my endorsement, recommendation, testimonial, and/or link to any products or services from this website.
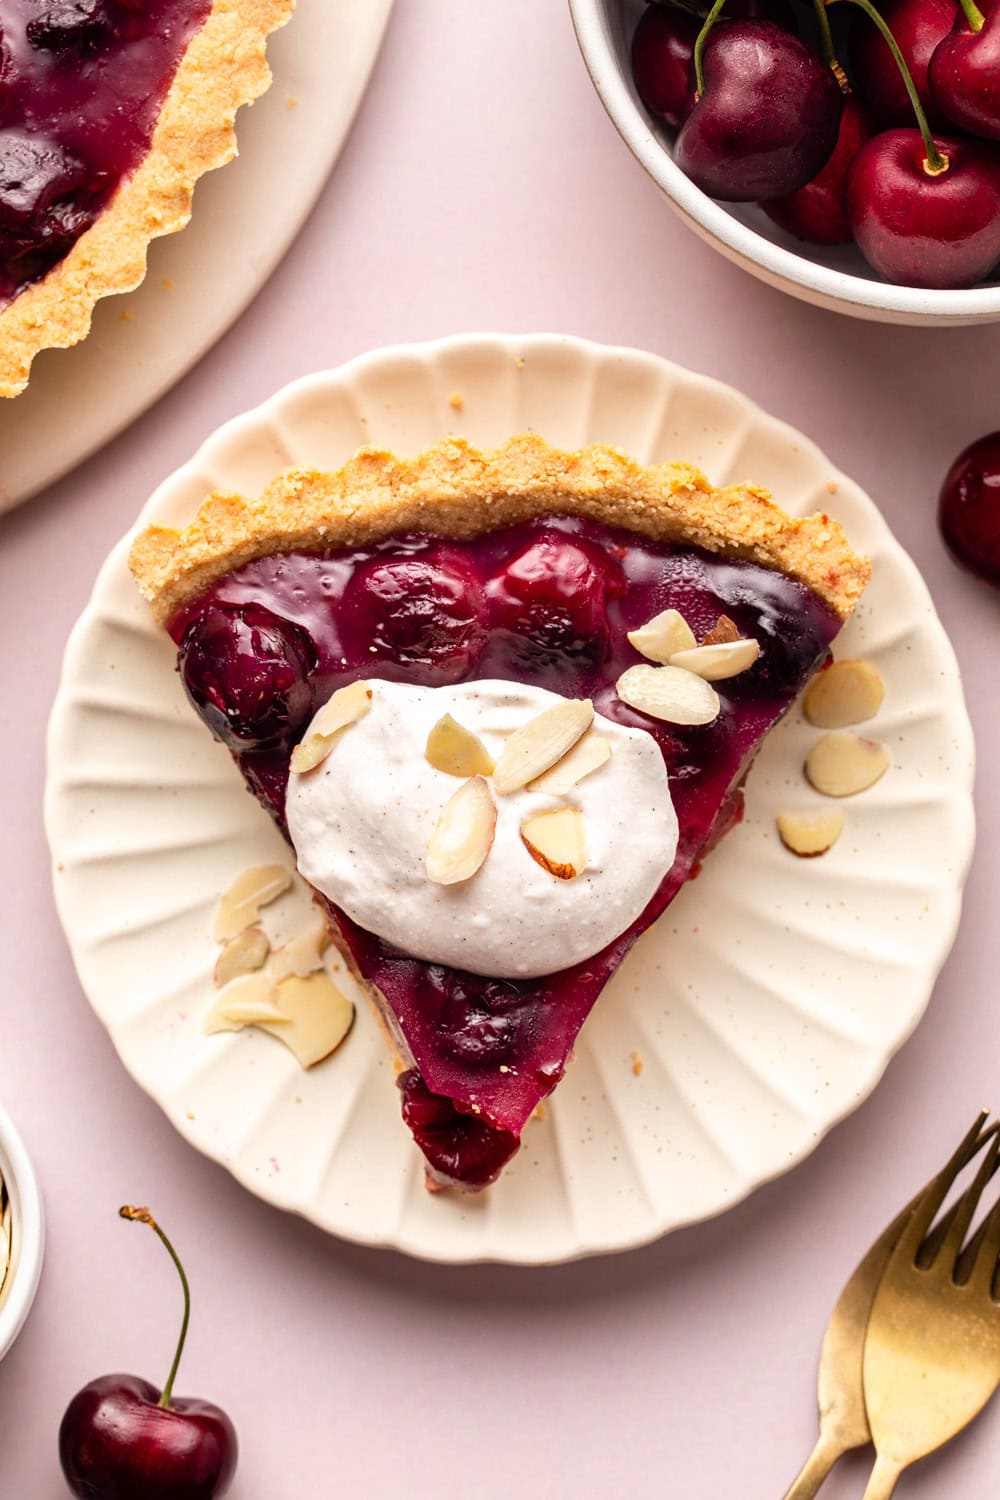
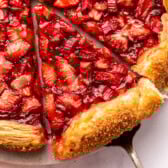
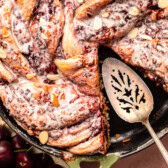
Finish your warm-weather meal with this Cherry Tart for dessert. A sweet, jammy, and glossy cherry filling is poured into a buttery almond and oat flour crust, leaving you with an impressive yet easy treat that’s perfect for sharing. Vegan and Gluten-Free.
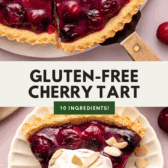
Do you have more fresh summer cherries than you know what to do with? Make this Vegan and Gluten-Free Cherry Tart! Featuring a homemade sweet and sour cherry filling in an almond and oat flour crust, it’s the best summer dessert to share with family and friends. Best of all, it’s surprisingly easy to make with just 10 ingredients!
Table of Contents
The Best Dessert for Cherry Season
What’s your favorite summer dessert? Ice cream? Cheesecake? I tend to go for the desserts that are almost overflowing with fresh fruit, including this vegan and gluten-free Cherry Tart.
Similar to my Strawberry Rhubarb Pie, this fruit tart fills a homemade tart crust with a juicy, glossy fruit filling. I personally believe that cherries are a top-tier summer stone fruit (sorry, peaches and plums), so making them the star of this dessert was a no-brainer. And don’t even get me started on the homemade gluten-free tart crust! I used both almond flour and oat flour to make it tender and flavorful, but still sturdy enough to hold the filling.
Just pour the cherry filling into the crust, let it set overnight, and you’re done! Every bite is bursting with sweet and sour cherries infused with just the right amount of almond and vanilla. Pass me a slice already!
Ingredients for This Cherry Dessert
The ingredients are divided into two categories for this dessert: the tart crust and the cherry pie filling. Everything should be easy to find, especially when you’re making this during summer. These are the key items needed for this tart:
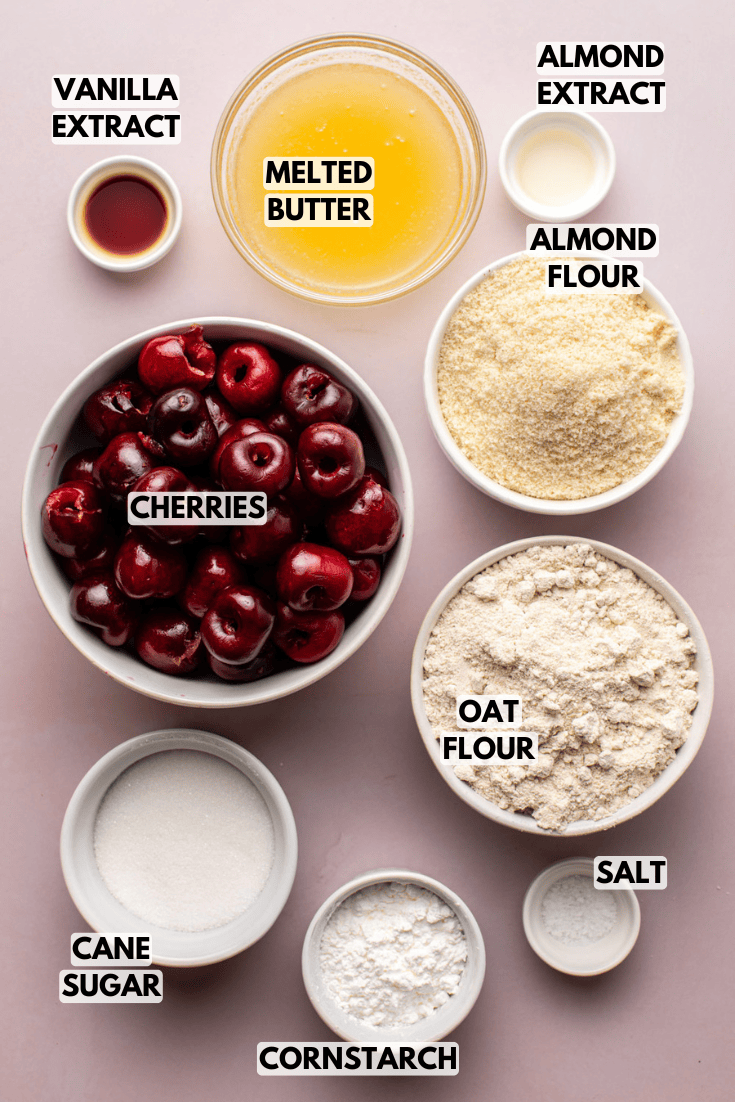
- Almond and Oat Flour: the crust is made from a 50-50 mix of oat flour and almond flour to give it enough structure while still tasting as rich, sweet, and buttery as a classic tart crust.
- Cane Sugar: the sweetness from the sugar balances the tart cherry filling and makes the tart crust even more enjoyable to eat. Go ahead and use white sugar, brown sugar, or coconut sugar as a substitute if you’d like. Maple syrup might work in the cherry filling, but not in the crust.
- Vegan Butter: melted vegan butter moistens the crust and makes it easier to press into the tart pan. It also gives it an irresistible buttery flavor (yum!).
- Cornstarch: a thickening agent that will transform the cherry filling into a syrupy, pourable sauce for the tart.
- Cherries: cherries peak during summer, making them easy to find at most grocery stores and farmers markets from June to August. Just remember to remove the pits ahead of time (a cherry pitter can make this really easy)—no one wants a hard cherry pit in their tart!
- Almond Extract: this is an optional flavor booster for the cherry filling. I personally love its warm, nutty flavor (it complements the almond flour pie crust really well), but you can leave it out if you prefer.
How to Make a Cherry Tart
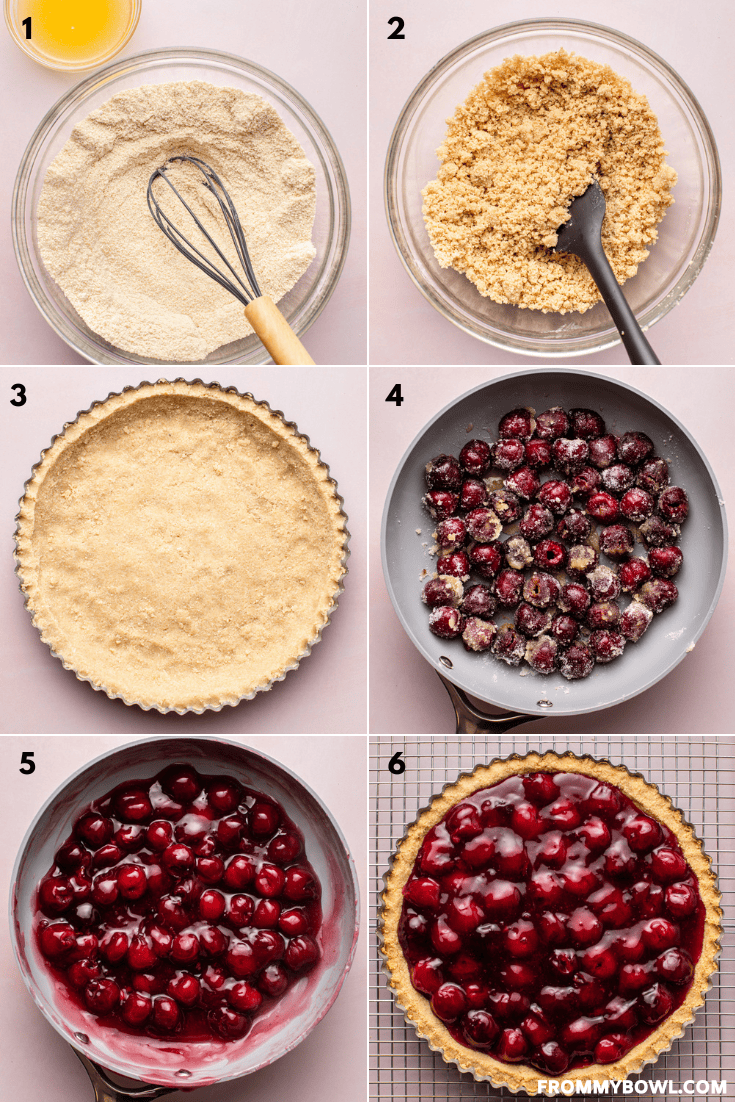
- Grease a tart pan and whisk the cornstarch and water together in a small bowl.
- Whisk the oat flour, almond flour, sugar, and salt in a medium bowl, then fold in the melted butter.
- Press the dough into the prepared pan. Bake the crust until it’s golden.
- Meanwhile, add the cherries, sugar, vanilla extract, almond extract, and salt to a saucepan. Cook over medium heat, stirring frequently, until the cherries begin to soften. Stir in the cornstarch slurry. Continue simmering until the cherry filling looks thick and glossy.
- Pour the pie filling into the baked crust and set it aside to cool to room temperature. Afterward, place the pie in the fridge to set.
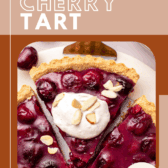
- Slice the tart and serve it with whipped cream and almonds. Enjoy!
Caitlin’s Cooking Tips
- No one likes a crumbly crust: It’s normal for the crust to puff up in the oven. Just press down on the bottom with the back of a spoon to compress the crust and prevent it from crumbling.
- Chill the tart overnight: Technically, you can get away with chilling the tart for 3 to 4 hours. But for a perfectly jammy yet sturdy filling, chill the tart in the fridge overnight. You’ll know it’s set perfectly when the filling jiggles oh-so slightly and is no longer loose.
- Fresh vs. frozen cherries: Personally, I prefer this tart with fresh, in-season cherries because they’re the most juicy and flavorful. Frozen pitted cherries work just as well, though. They do contain more liquid than fresh cherries, but you can cook it off by simmering the filling for a few minutes longer.
Serving Suggestions
No summer meal is complete without a slice of cherry tart for dessert. Each sweet and sour bite is delicious on its own, but why not kick it up a notch with a few toppings? Slivered almonds, a dollop of vegan whipped cream, a scoop of vegan vanilla ice cream, or a few fresh mint leaves are all great choices.
If you’re looking for more vegan summer desserts, you’ll also love these Vegan Berry Tarts with Vanilla Custard, this Vegan Blueberry Lemon Cake, and this Puff Pastry Peach Galette!
How to Store a Leftover Cherry Tart
Once it’s cool, transfer the whole tart to an airtight container or slice it and store the slices separately. The leftovers will keep for up to 5 days in the fridge.
The tart crust can also be baked ahead of time if you’re looking to save a little time. Once it’s completely cool, carefully wrap the crust (still in the tart pan) in plastic wrap. It will keep for up to 5 days in the refrigerator or up to 2 months in the freezer.
I do not recommend freezing the leftover tart because the cherry filling will be looser after thawing.
Substitutions and Variations
- Cherry Substitute: I haven’t tested it, but the filling should be just as easy to make with another chopped stone fruit (like diced nectarines or peaches) or the fresh berries of your choice.
- Flour Variations: I haven’t tested this recipe with any other kind of flour and cannot say if any alternatives will work or not.
- Optional Flavor Boosters: Stir up to 1 teaspoon of lemon or orange zest into the filling, or swap the almond extract with more vanilla extract.

Recipe FAQs
You could try replacing the crust with a no-bake vegan graham cracker crust or use a pre-made store-bought crust instead.
To make individual cherry tarts, press the crust into small tart pans or a regular muffin tin, or swap the crust for vegan and gluten-free tart shells instead. Bake, fill, and set the tartlets as normal.
Yes, you can make this with classic vegan tart dough instead of the gluten-free crust if you don’t need the recipe to be gluten-free.
Enjoy! If you make this recipe and decide to share it on Facebook or Instagram, don’t forget to tag me @FromMyBowl + #FromMyBowl! I would also love it if you could leave a comment below with a recipe rating! Thank you for the support 😊
Cherry Tart (Gluten-Free)
Ingredients
For the Almond Crust:
- 1 cup oat flour
- 1 cup almond flour
- 1/4 cup cane sugar
- 1/4 teaspoon kosher salt
- 6 tablespoons butter melted
For the Cherry Filling:
- 2 tbsp cornstarch
- 3/4 cup water
- 1 pound fresh cherries, stems removed and pitted
- 1/2 cup cane sugar
- 1 teaspoon vanilla extract
- 1/4 – 1/2 teaspoon almond extract* see notes
- Pinch of salt
Serving Suggestions: (Optional)
- Whipped cream
- Slivered Almonds
Instructions
- Prep: Preheat the oven to 350F. Grease a 9” tart pan or pie tin and set aside. Whisk the cornstarch and water for the filling together in a small jar or measuring cup; set aside until step 5.
- Make the Crust: Add the oat flour, almond flour, sugar, and salt to a medium bowl and whisk well until combined. Add the melted butter and use a spatula to mix again. The pie crust will look crumbly and sandy, but should stick together when pinched.
- Bake the Crust: Transfer the pie “dough” to the prepared pie tin and use an offset spatula or clean hands to press it into a thin, even layer around the base and edges of the tin. Bake in the middle rack of the preheated oven for 20 to 22 minutes, until golden.
- Set the Crust: Once the crust is done baking, remove from the oven and place on a wire rack. The crust will have puffed up slightly; use a spoon to press the bottom portion of the crust back down (this will prevent a crumbly crust).
- Make the Filling: Add the cherries, sugar, vanilla extract, almond extract, and salt to a medium saucepan or sauté pan over medium heat. Mix well and stir frequently while the sugar melts and becomes liquid. Once the cherries and sugar start to simmer, maintain the heat and simmer for 5 minutes, until the cherries have begun to soften. Give the cornstarch and water mixture from step 1 a quick mix to re-dissolve the cornstarch, then add it to the pan and mix continuously, to prevent clumping. Simmer for an additional 4 to 5 minutes, until the cherries are soft and the filling looks thick and glossy.
- Set the Pie: Immediately transfer the pie filling to the cooked crust, using a spatula to smooth out the top. Let the pie cool slightly at room temperature for 10 minutes, then place in the fridge and let it chill for at least 2 hours to fully set; you can also store the pie like this overnight.
- Serve & Store: Slice the pie and serve with a dollop of whipped cream and a sprinkle of almonds, or as desired. Store any leftovers in an airtight container in the fridge for up to 5 days; this recipe does not freeze well.
Recipe Notes
- Fresh vs. Frozen Cherries: I prefer to use fresh in-season cherries when they are available, but you can use frozen pitted cherries as well! You do not need to thaw the cherries; add them directly to the pan in step 5, but increase the final simmer time by an additional 2 to 3 minutes, to cook off the extra liquid that will come off of the frozen fruit.
- Almond Extract: I personally love the flavor of almond extract so prefer to use 1/2 teaspoon; if you prefer more of a mild flavor, use only 1/4 teaspoon.

I made this last night for myself and my two kids (ages 7 and 10). I was worried about it being too much for the three of us, because my husband doesn’t like cherries. Well, I actually had to stop my kids from eating the whole thing (okay, I couldn’t stop either!) so we would have some for dessert the next day. So delicious! It was easy to make too. The crust was fantastic and the cherry filling was divine. Yum!
yum! so happy you all enjoyed!!
Hello, this recipe looks delicious and easy enough for even me to bake. I am like a hurricane in the kitchen. I do have one question. In the recipe, can I use date syrup instead of sugar because I do not consume any kind of sugar. If not, what about powdered Stevia? Thank you.
I think the date syrup will work in the filling but not in the crust, though it might alter the filling texture slightly. I would go for stevia in the crust! You could also try it out in the filling if you’d prefer to use only one. 🙂
THIS WAS AMAZING!! HIGHLY RECOMMEND. I liked using So Delicious Coco whip on top.
sounds delicious, so happy you enjoyed, Tiffany!